Series: GT-CP Video Tutorial
Noritake GT-CP Tutorial | Part 1: Connect Display to PC
Table of Contents
Last update: March 14, 2019
This web-page is intended as a text supplement for the video above. This page will provide all of the necessary information (web links, images, etc.) to achieve the goals accomplished in the video tutorial.
Overview
Learn how to connect a GT-CP module to a Windows 7 PC. This tutorial includes a WinUSB driver installation explanation.
If you are using Windows 8 or 10, you can skip the “Install WinUSB Driver” section.
Note:
– The GT800X480A-C903PA module has a current draw of 940mA. A typical USB port is regulated at 500mA. Please make sure that your PC can handle the GT-CP’s current draw before applying power via USB. – The header at JP1 is not included with the GT-CP module. It must be soldered on after purchase.
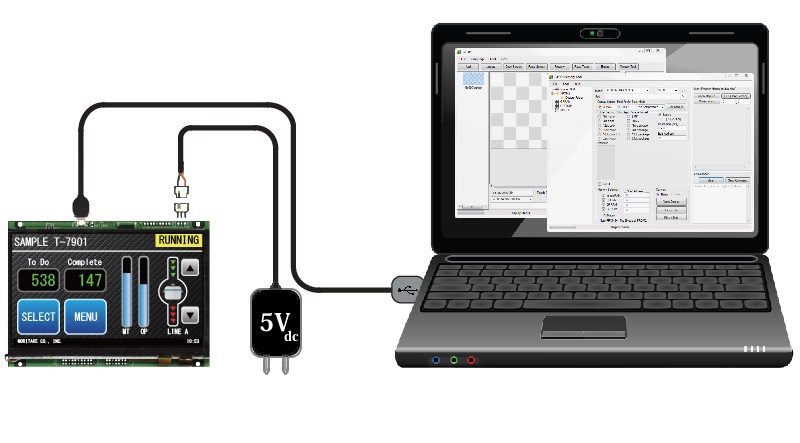
Connect Display to PC
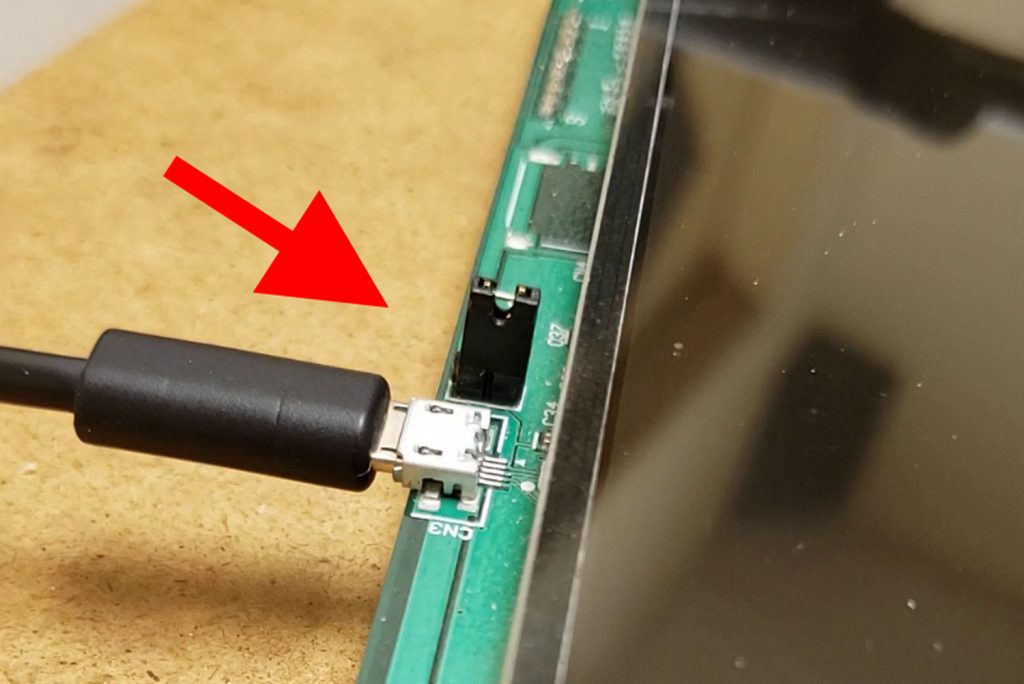
So first thing, we need to connect a micro-USB cable to the micro-USB port on the GT-CP module.
Short JP1 in order for the module to accept power through the micro-USB cable.
Now that those are shorted and plugged in, we can plug in the other end of the USB cable into our PC.
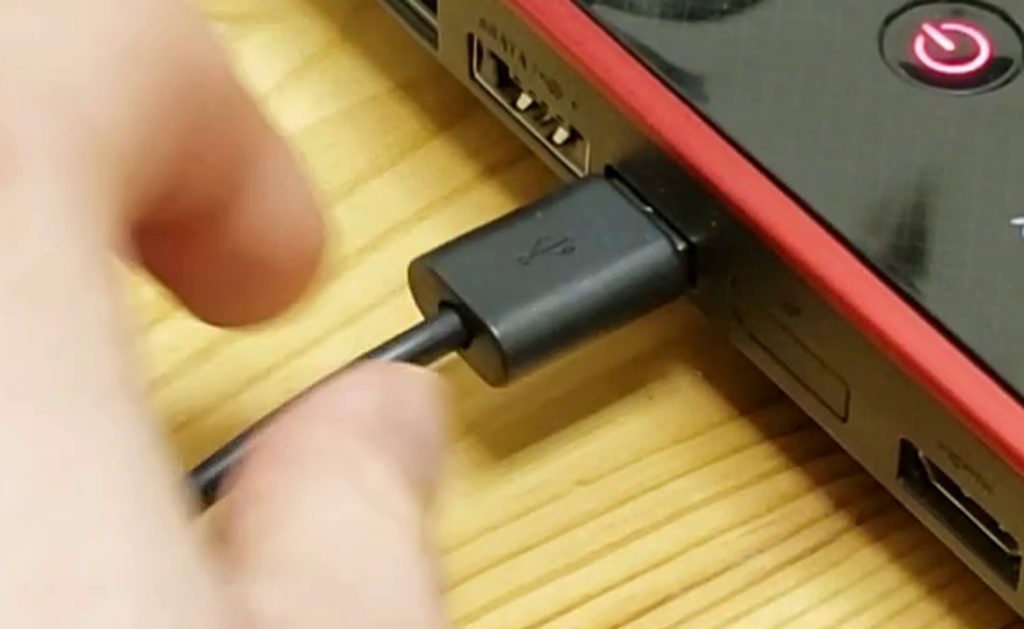
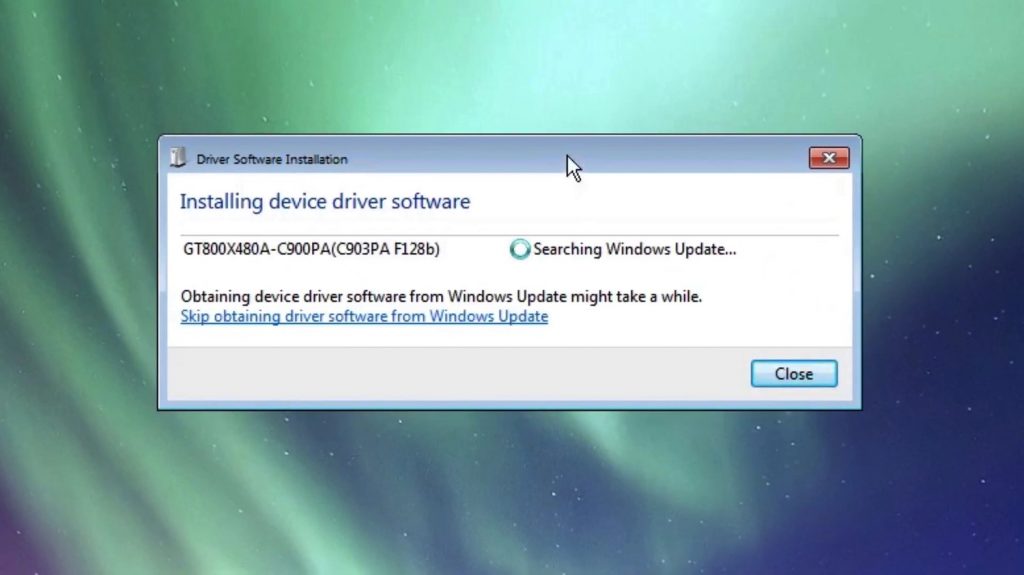
Once that’s plugged in, the computer will start trying to find and install the device driver software.

Note:
Unfortunately, on Windows 7, WinUSB is not automatically installed.
Windows 8 and 10, however, does have WinUSB installed.
If you are using Windows 8 or 10, you can skip the “Install WinUSB Driver” section.
Since we are using Windows 7, we need to manually install the WinUSB driver.
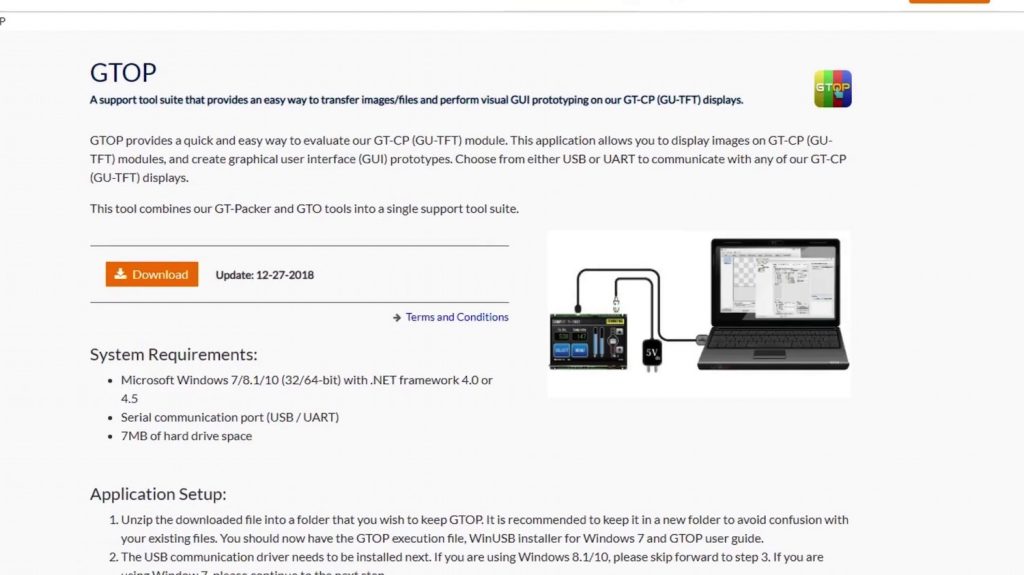
Download the GTOP Tool
We’re at the GTOP page, you can download the tool from here.
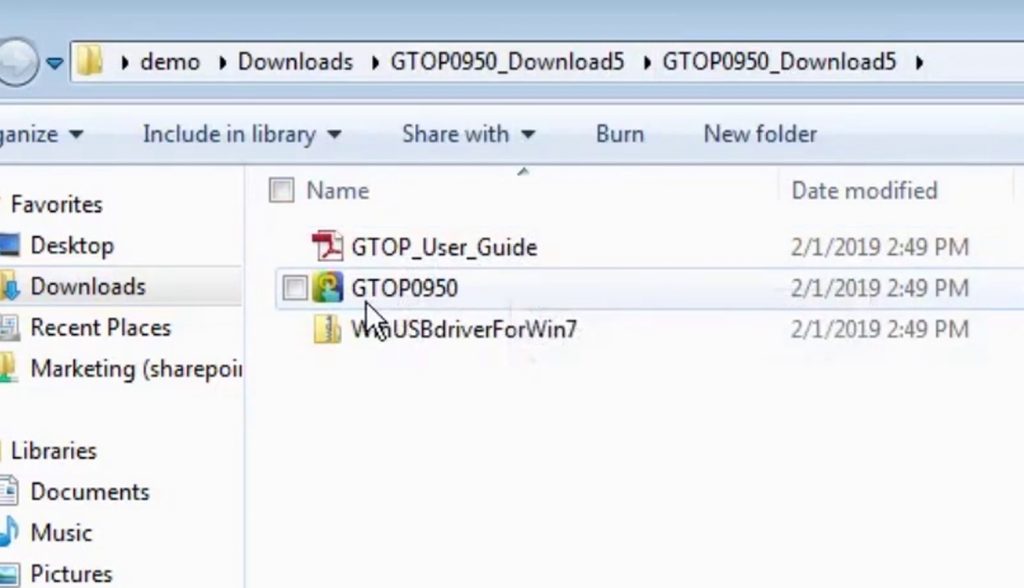
So, once you have downloaded and extracted the download package, go into the GTOP download folder and you’ll find the GTOP user guide, GTOP, and WinUSBdriverForWin7.
Install WinUSB Driver
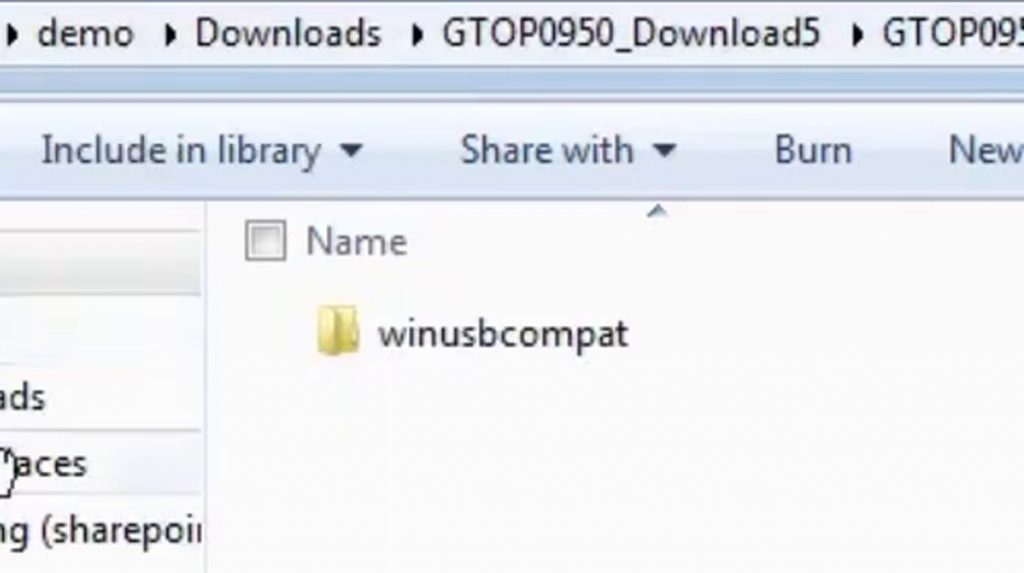
Extract winusbcompat.zip and open to winusbcompat folder.
So with that, let’s go to Device Manager.
Open Device Manager
Search “device” and open “Device Manager”.

By this point, the PC should have recognized that there is no available driver software.

Install Driver
Right-click on GT800X480A-C900PA and hit Properties.
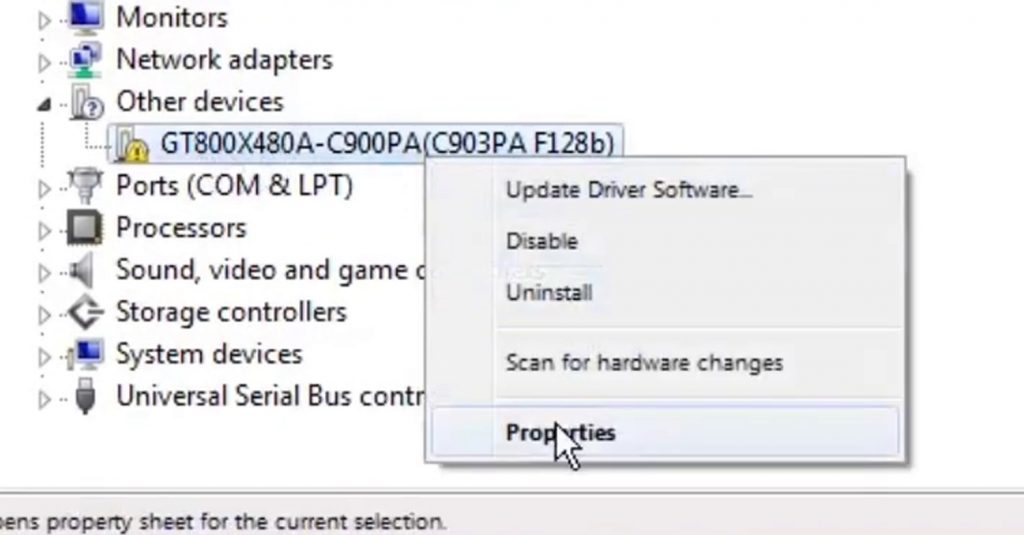
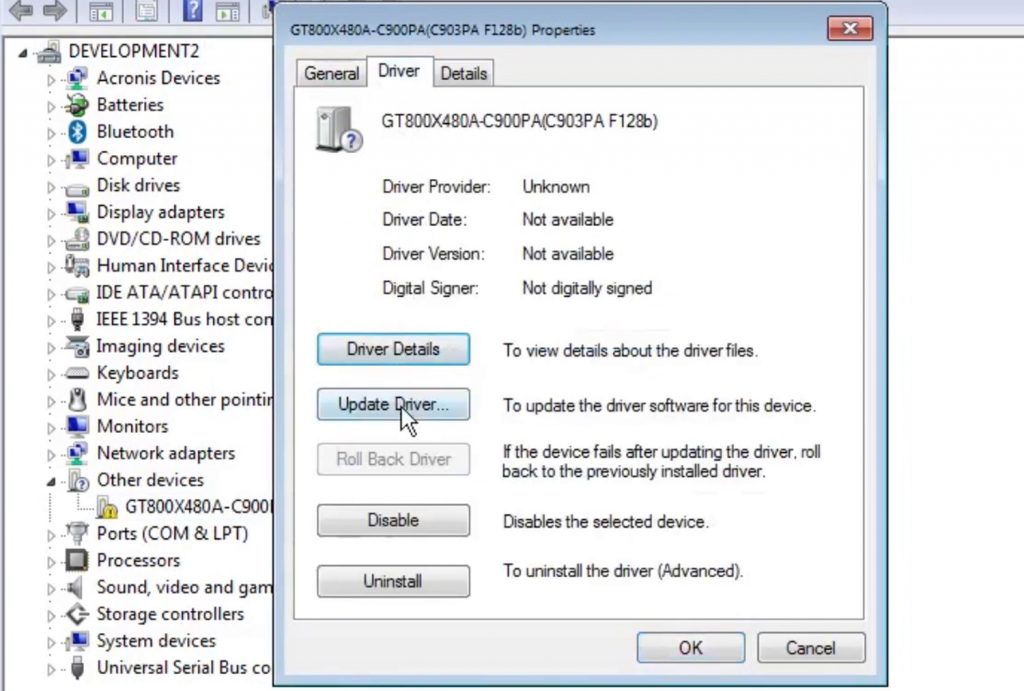
Go to Driver and Update Driver.
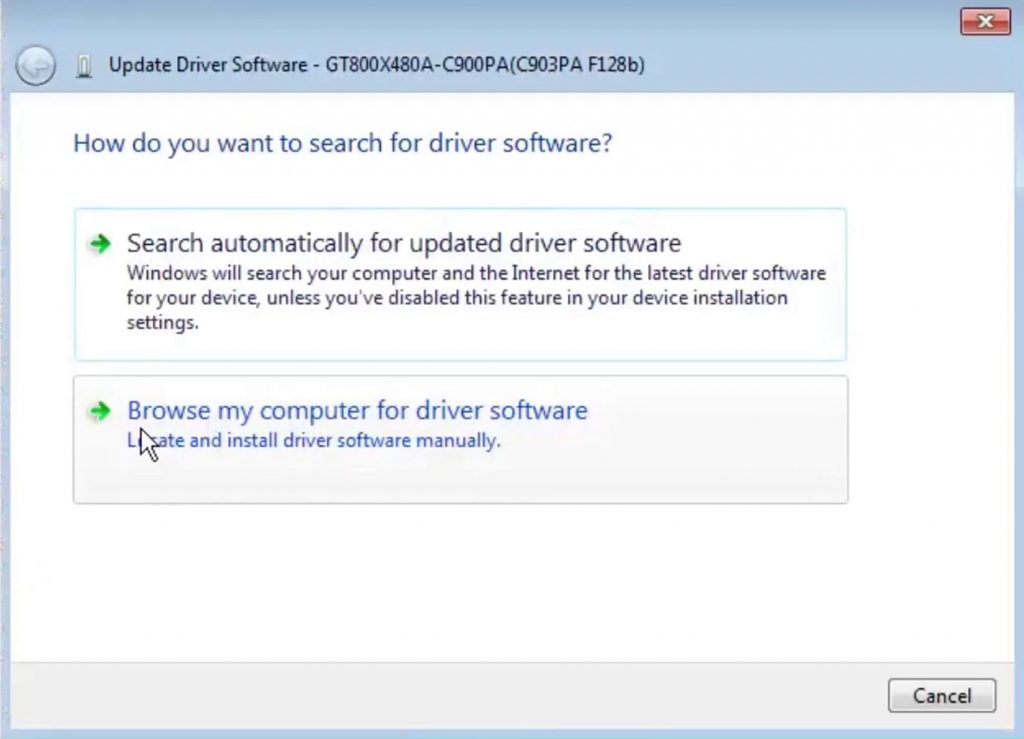
Click on “Browse my computer for driver software”.
Now, go back over to the folder with winusbcompat, click on the address bar, right-click and hit copy.

Go back over to the install, right-click on the address bar here and hit paste.
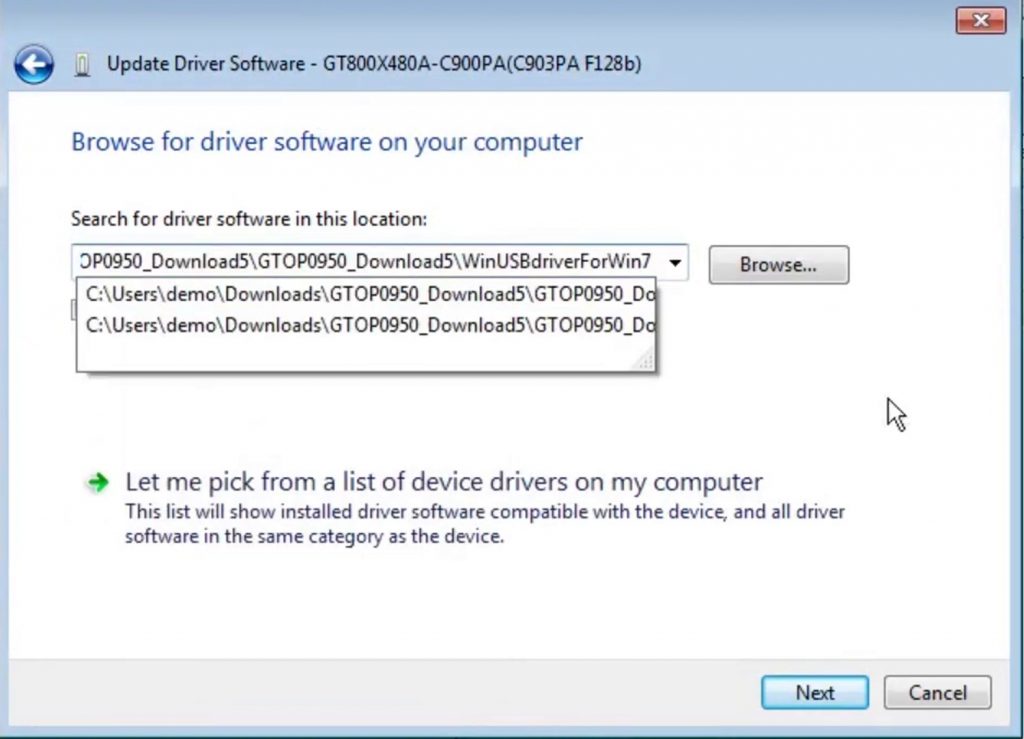
Then click on Browse. You can expand WinUSBdriverForWin7, click on winusbcompat and hit OK.
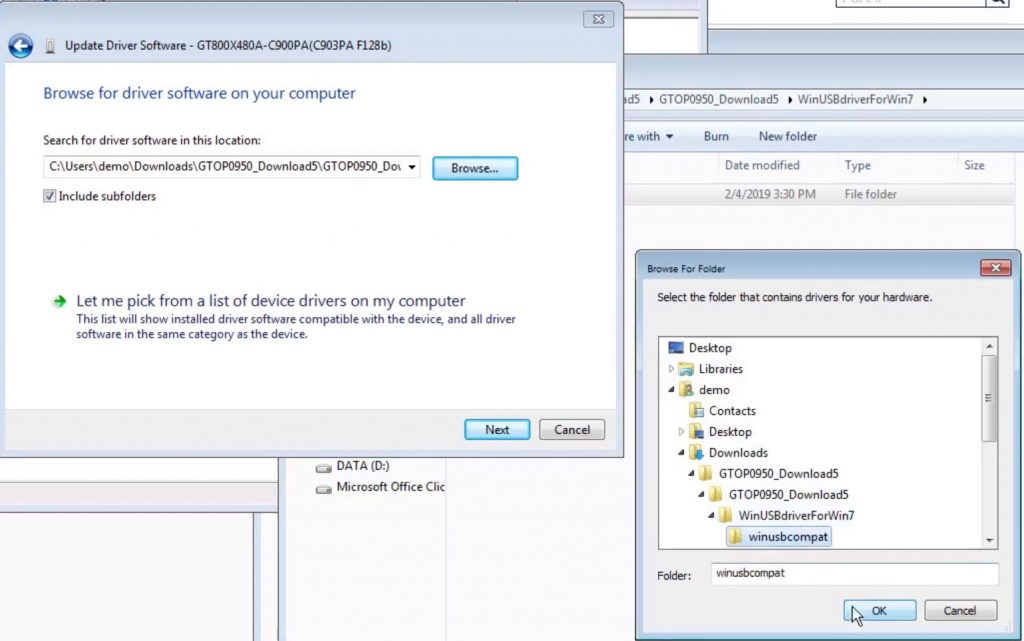
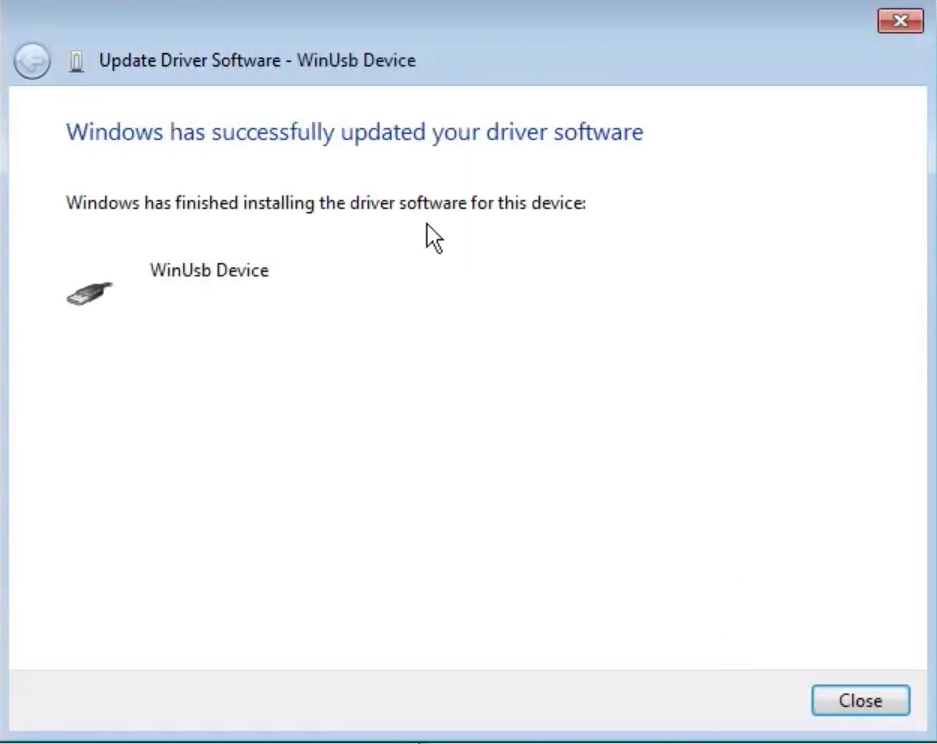
Then hit Next and the driver will install.
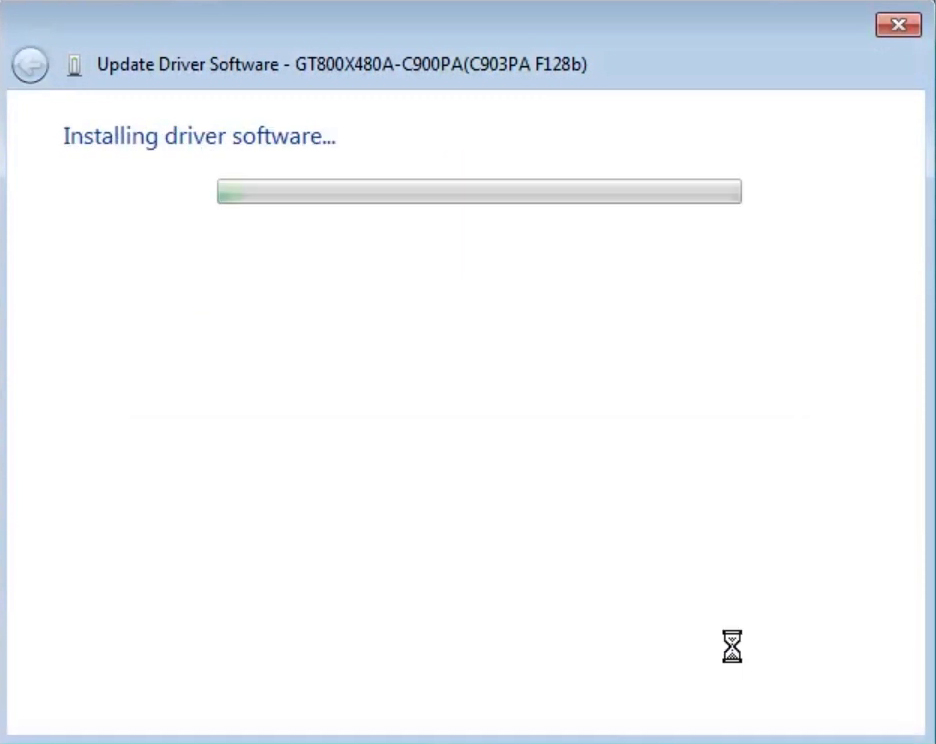
You now have the driver successfully installed on Windows 7 for your GT-CP module.