Series: Using the GT-SP Touch Panel TFT Display with Arduino
Efficiently Design Screens Utilizing the Object Reuse Function in GT Design Studio
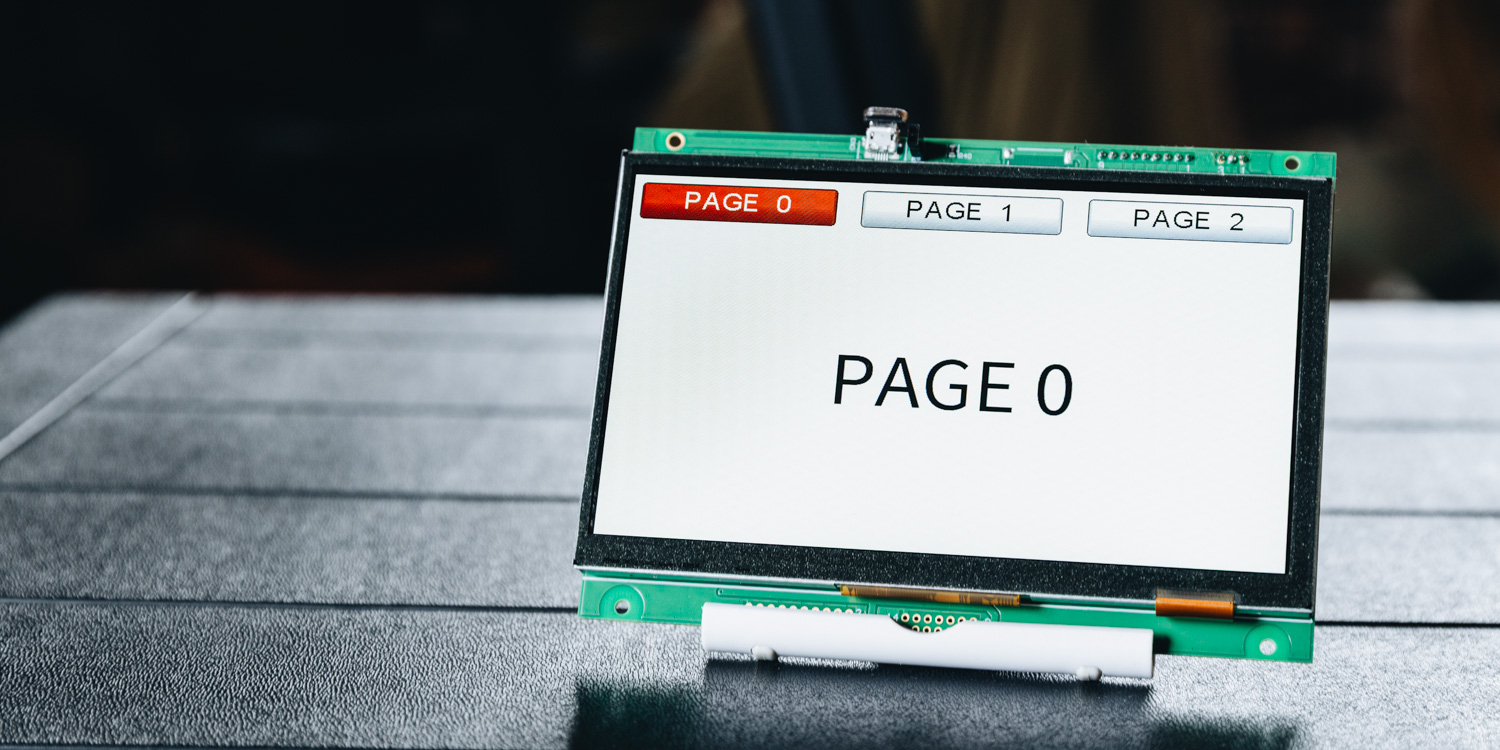
Table of Contents
DownloadDownload sample project & program (for GT Design Studio & Arduino)
Hello everyone, I’m @kissaten, a beginner in electronics. In this series, I’m explaining the process of connecting a 7-inch touch display (GT-SP series “GTWV070S3A00P”) to an Arduino and working on various projects.
In this article, I will create a navigation menu to switch between multiple pages. Although it is a simple setup using button objects, I will introduce a method to reuse objects in order to improve work efficiency and reduce the number of objects used.
GT Design Studio currently has a maximum limit of 500 objects that can be placed. As you create a GUI that involves navigating and operating across multiple pages, you will need to place a common navigation menu (buttons and icons) on all pages, which runs the risk of quickly reaching this limit.
This is where the object reuse function introduced here comes in handy. By sharing a single object across multiple pages, you can save resources and improve maintainability.
Difference between “Object Copy” and “Object Reuse”
GT Design Studio offers two main methods for increasing objects. It is important to understand the characteristics of each and use them appropriately.
Object Copy
When you copy and paste an object, it is generated as a “completely separate new object.”
- Feature: Since it is independent from the original object, changing one does not affect the other.
- Consumption: It consumes the object count by the number of copies made.
- Usage: Suitable for cases such as creating buttons that look similar but have different settings.
Object Reuse
This is the function we will use this time. It is a method of adding an existing object to a “list” and using it on other pages.
- Feature: The entity is a single object. Therefore, if you change the size or position in one place, the change is reflected on all pages where it is reused.
- Consumption: Even if displayed on multiple pages, the object count consumption remains “1”.
- Usage: Ideal when you want to display exactly the same thing, such as a menu bar common to all pages.
Preparing the Project for “Object Reuse”
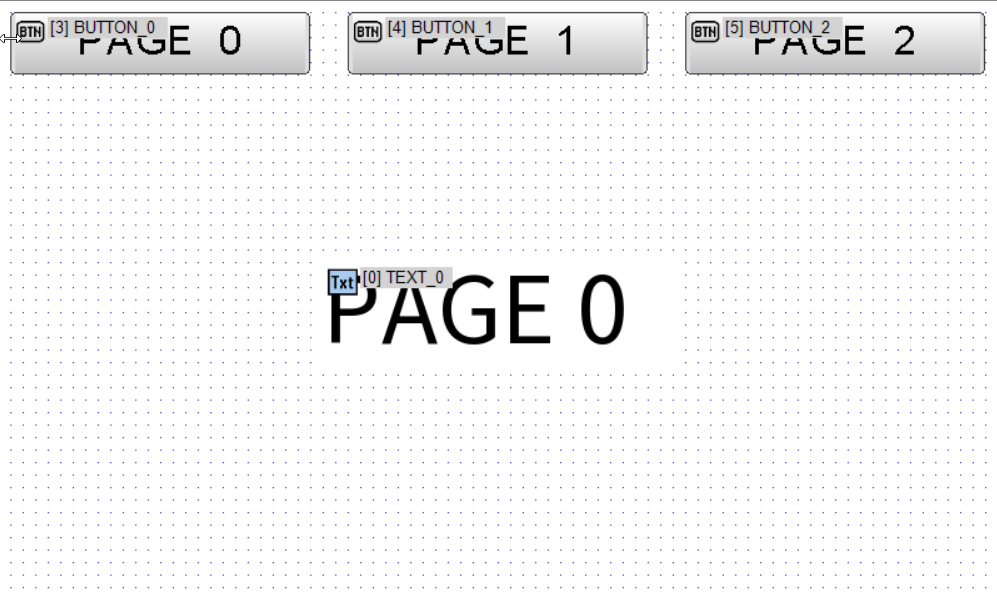
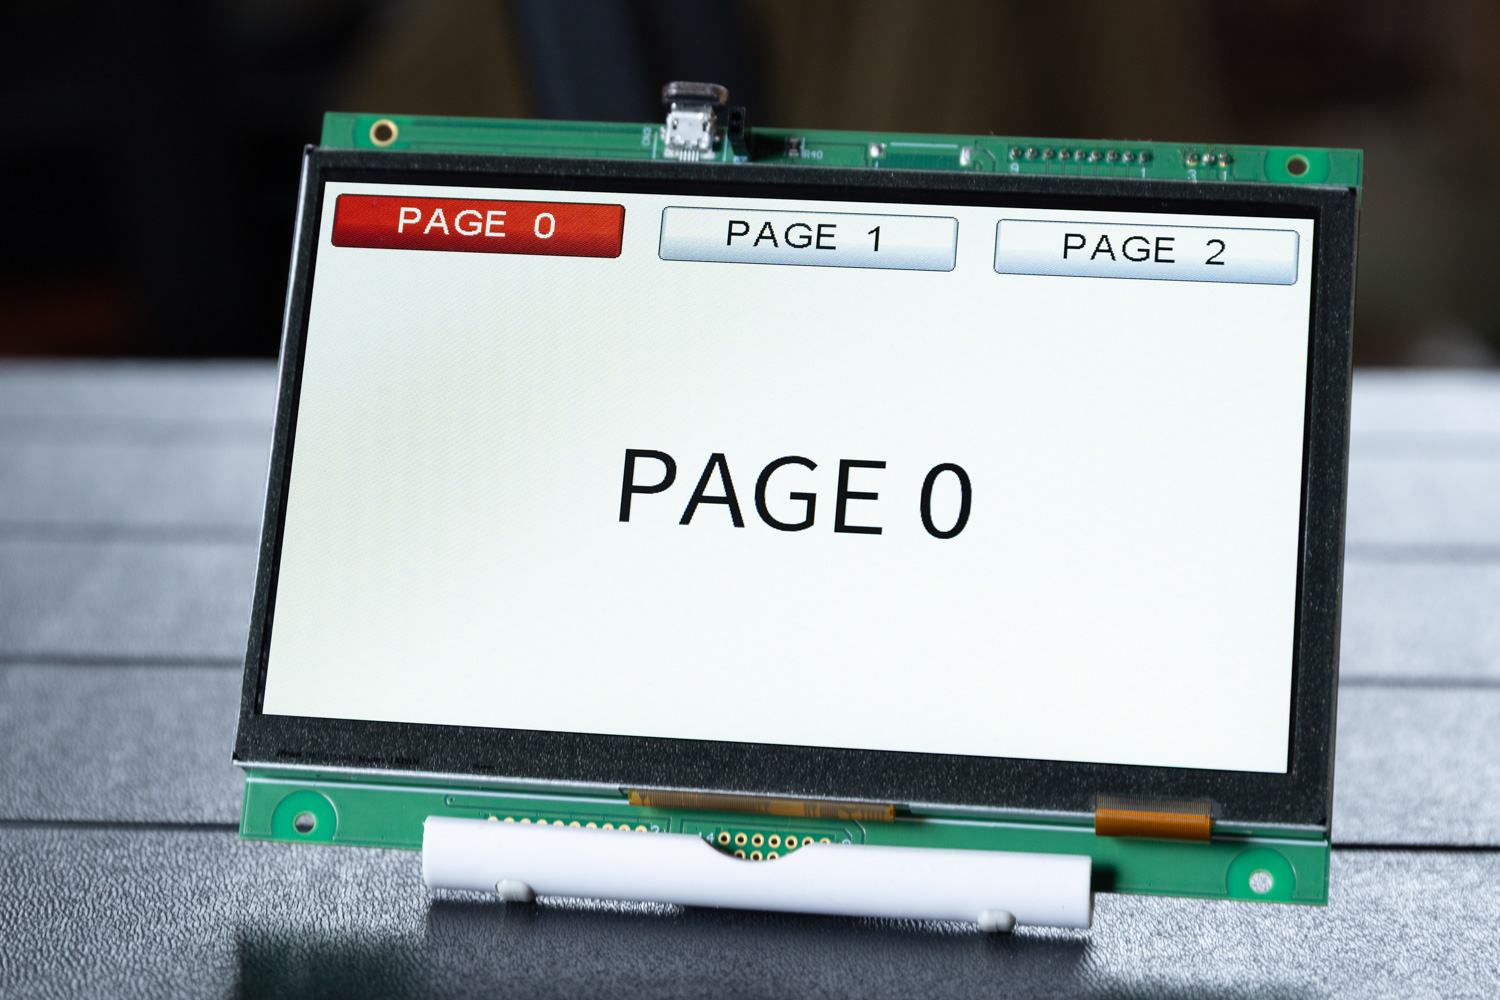
This time, I will create a project consisting of 3 pages with a common navigation. First, place 3 button objects on PAGE_0 and create a navigation to move to each page.
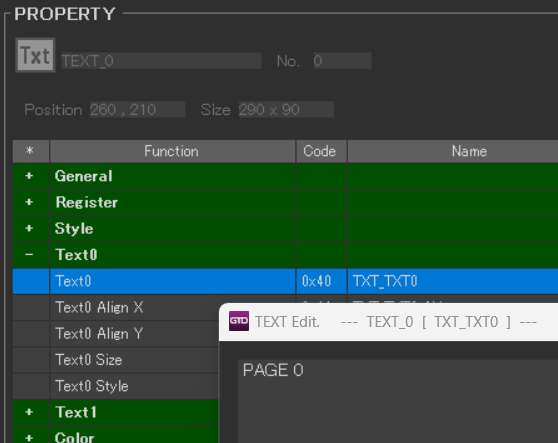
Place a text object so the current page can be identified, and enter “PAGE 0” in the property Text0.
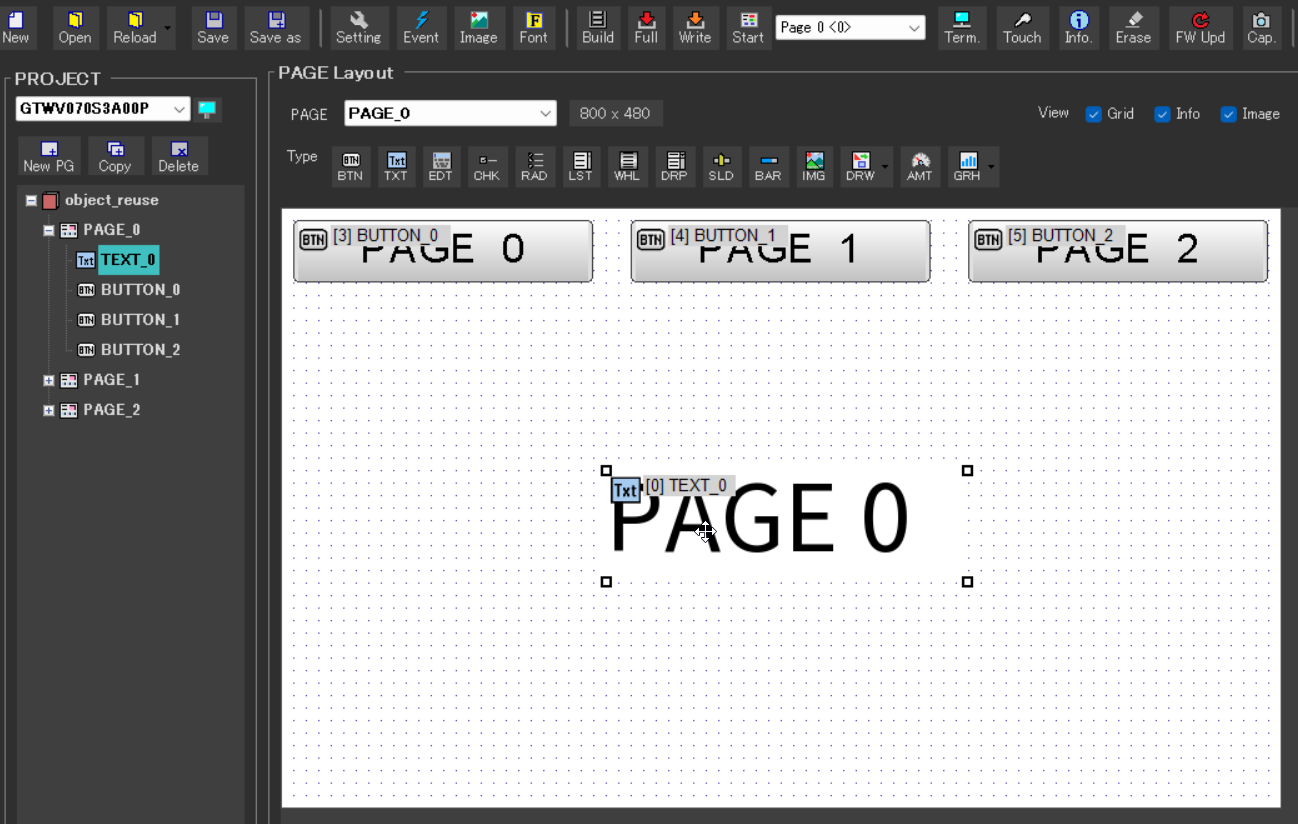
Create PAGE_1 and PAGE_2, and place text objects with their respective page names set to complete the preparations.
Adding to Object List
Now, let’s actually try reusing objects.
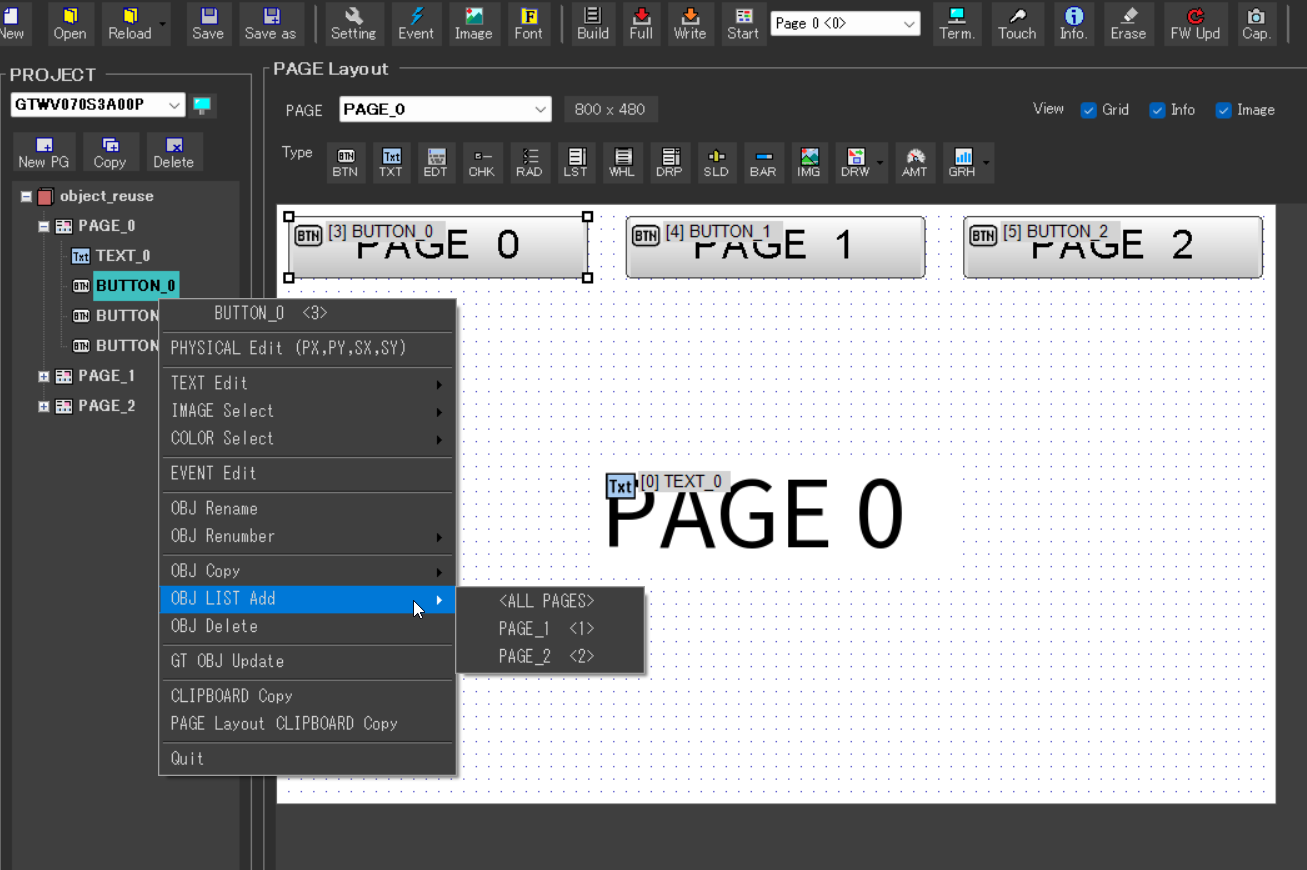
Place the navigation button objects created on PAGE_0 onto the remaining 2 pages as well.
Right-click the object you want to reuse, and from “OBJ LIST Add” (Add to Object List), select the destination page.
Efficient Copy Operation (Tips)
There are operation methods for working efficiently when reusing objects across many pages.
- Bulk Setting: Selecting “ALL PAGES” on the “OBJ LIST Add” screen allows you to reuse the object on all pages within the project.
- Drag & Drop Operation: You can also reuse objects by holding down the Ctrl key and dragging the object to another page in the tree view on the left side of the screen.
Setting Event Actions
Set an action event for each of the 3 button objects to move to the page with the corresponding number. Since the objects are reused, it does not matter from which page you select the button object.
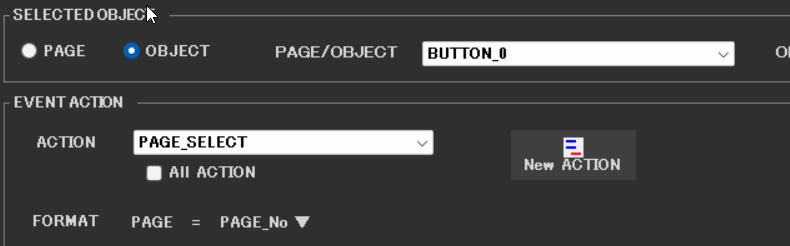
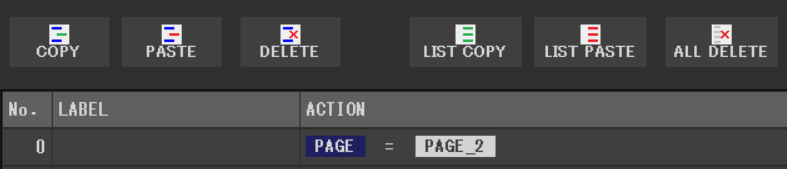
Set the event action to “PAGE_SELECT” and select the destination page for when the button is pressed.

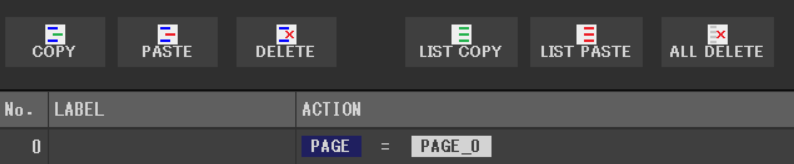
Example setting for BUTTON 0
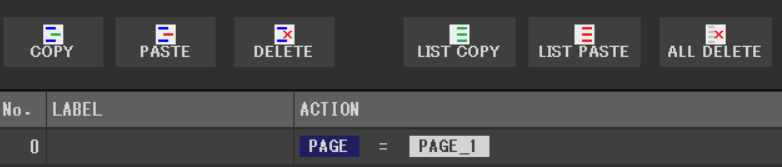
Example setting for BUTTON 1
Example setting for BUTTON 2
This implements the minimum navigation function of moving to each page when the buttons are pressed.
To Make Navigation Easier to Use
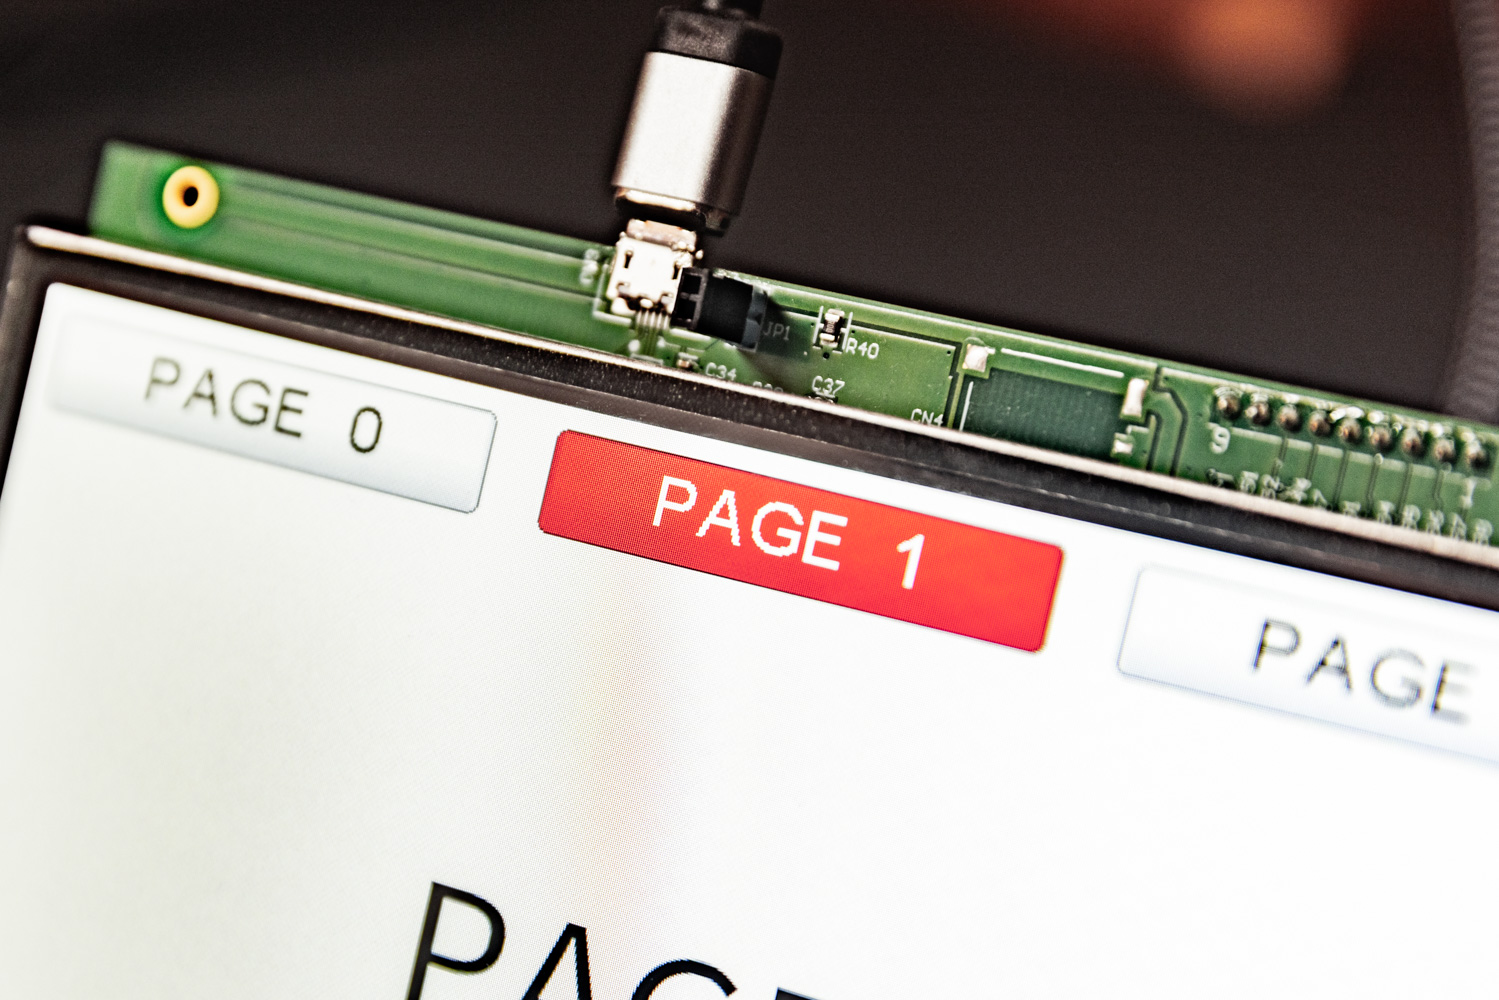
In its current state, the buttons look the same regardless of which page you are on. Let’s change the color of the button corresponding to the selected page so the user can intuitively understand “which page am I looking at now?”.
For example, for the button that moves to PAGE 0 (BUTTON 0), add an action to “change the button background color to red” along with the “move to PAGE 0” action.
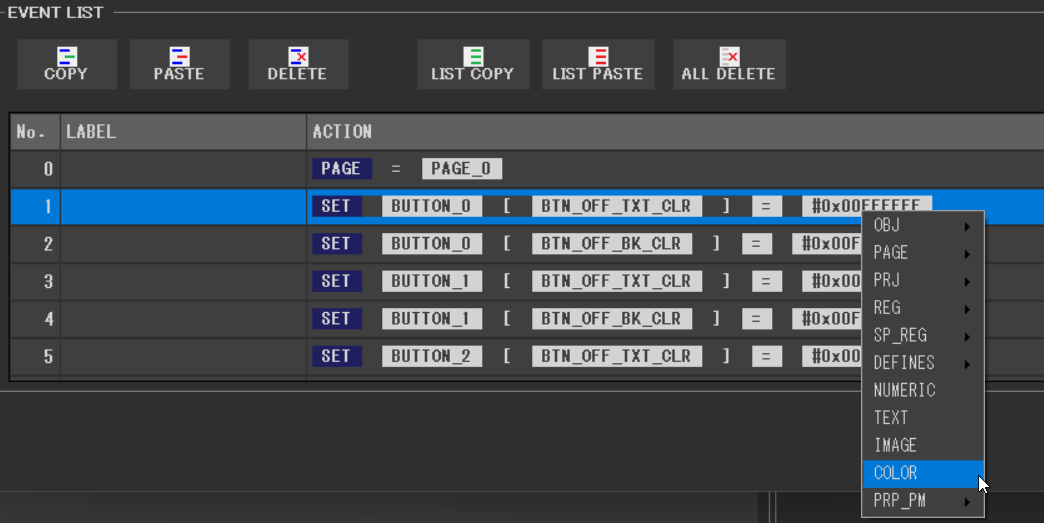
Color Setting Tip: You do not need to directly enter a color code when setting a color change event. Clicking “COLOR” on the event action setting screen displays a color palette, allowing you to intuitively select the color you want to use via mouse operation.
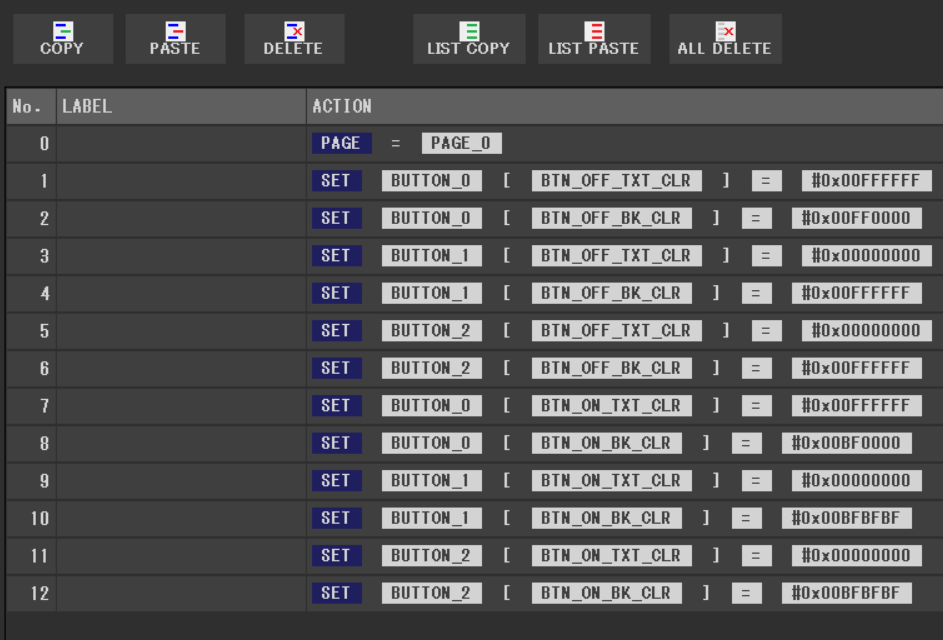
This time, I applied the following settings to each button object.
Event list for BUTTON_0
Event list for BUTTON_1
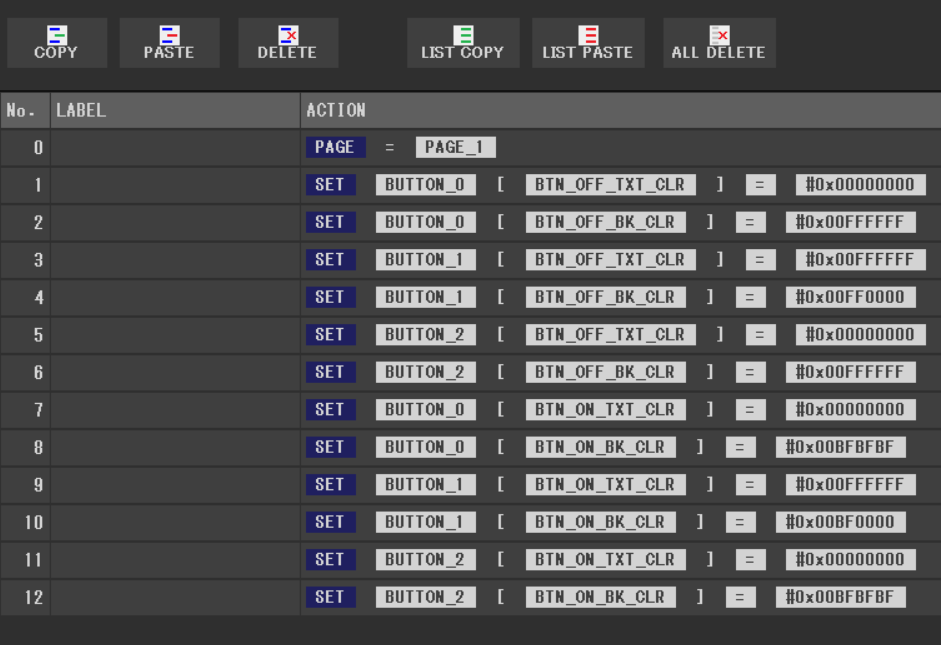
Event list for BUTTON_2
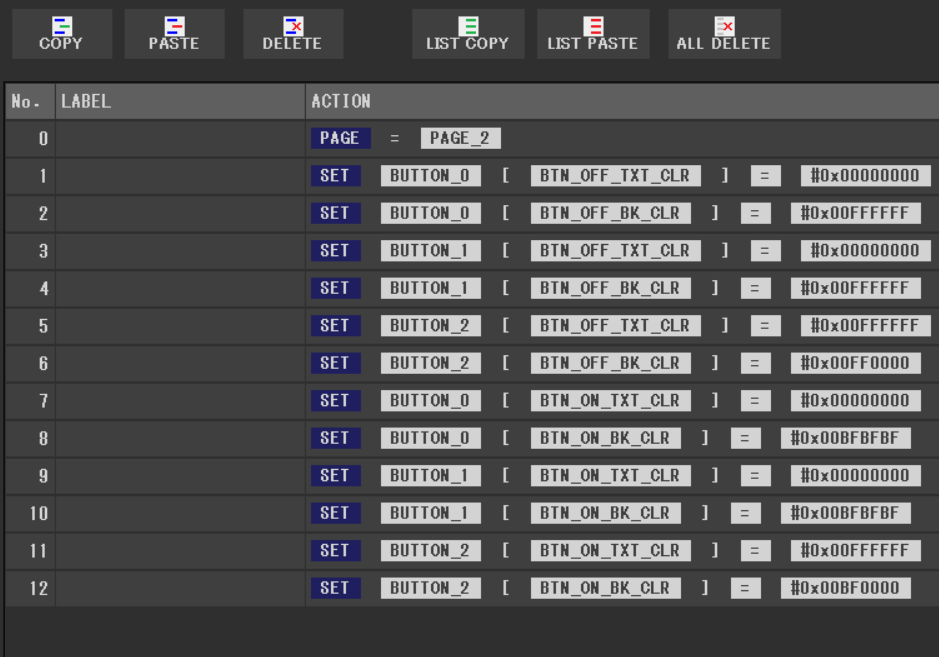
In the added events, I changed the background and text colors of the selected button object, or set the color for the unselected state.
Bulk Copy of Event Lists
When setting the same multiple event actions to another object as in this case, you can use “List Copy” and “List Paste” to set events in bulk.

Summary
DownloadDownload sample project & program (for GT Design Studio & Arduino)
In this article, I explained how to efficiently create a navigation menu utilizing the “Object Reuse” function of GT Design Studio.
- Object Reuse: Saves resources (object count) and enables batch placement and changes to all pages.
By combining these functions, you can build a rich and easy-to-use interface in a short time even in a restricted environment. Please try using it in your projects.