Series: Getting Started with GT-CP
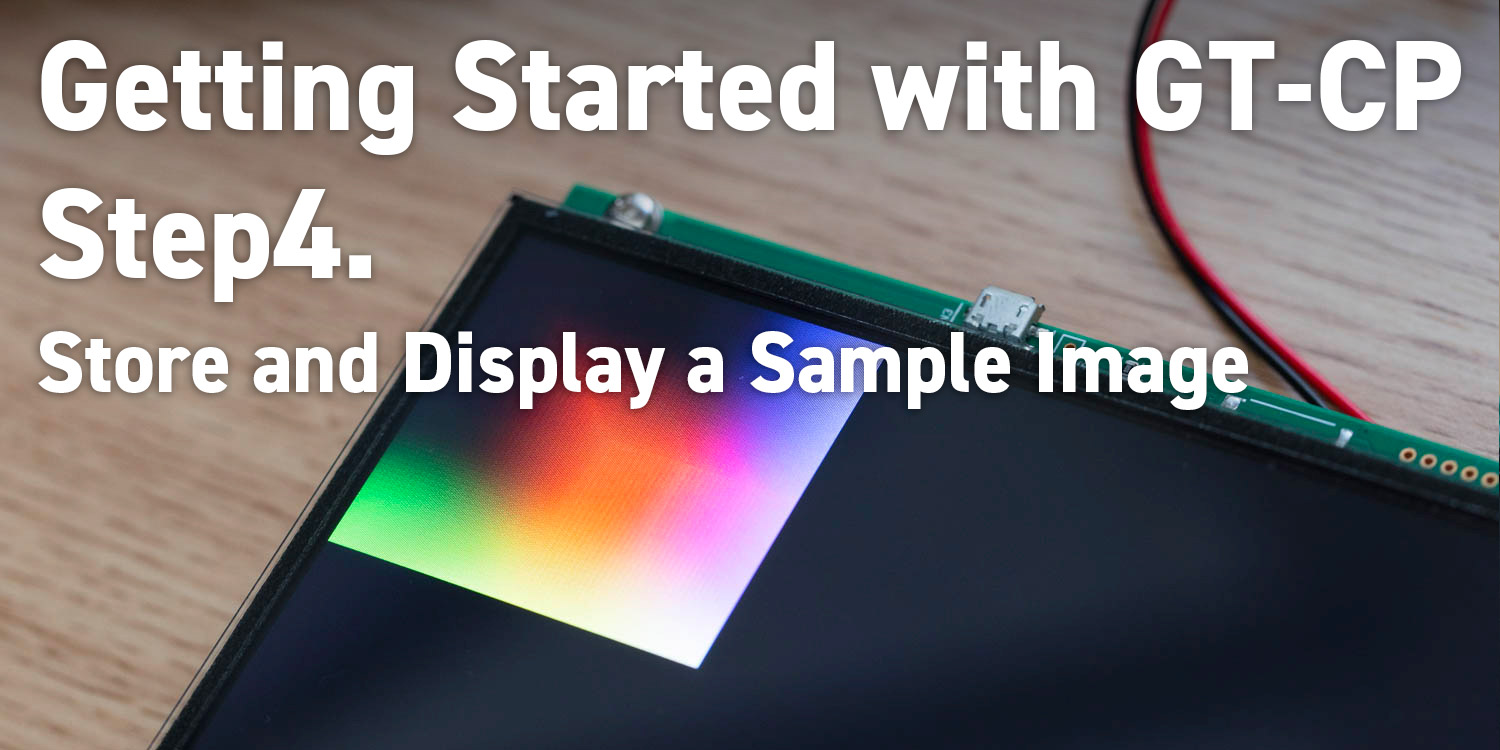
Getting Started with GT-CP | Step 4. Store and Display a Sample Image
Series: Getting Started with GT-CP
- Step 1. Connect Display
- Step 2. Install GTOMP
- Step 3. Display “Hello, World!”
- Step 5. Adjust the Touch Sensitivity
- Step 6. Adjust the Touch Sensitivity for Various Cases
- Step 7. Connecting to a Host Controller
- Step 8. Three control methods for GT-CP
- GTOMP Sample Image Menu : Use Sample Program
- Case Study : Image Gallery Program
- Case Study : Tenkey Program
- Case Study : Image Gallery And Slider Program
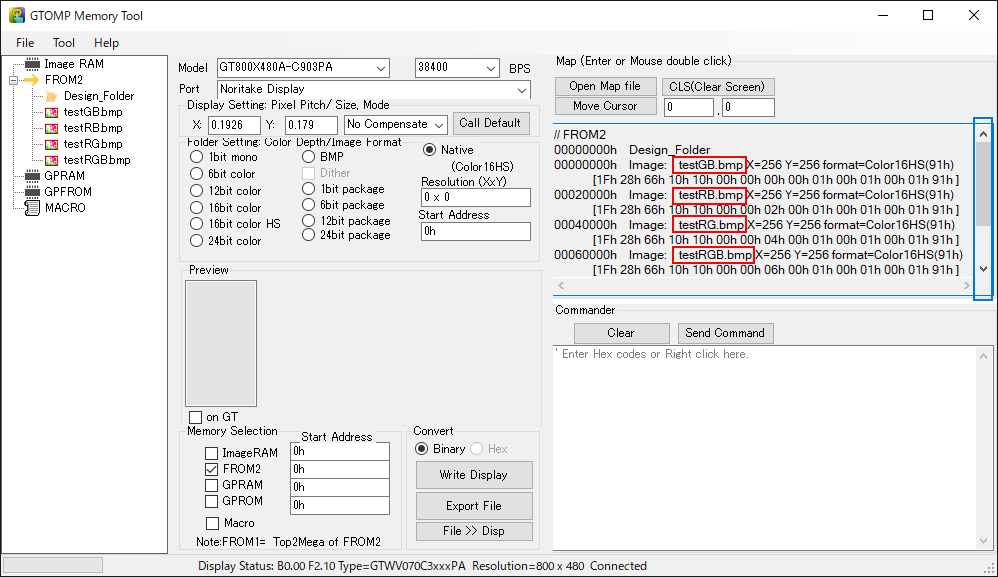
Store a Image
You can call up stored images with the “Downloaded bit image display” command.
- Generate GTOMP sample images by selecting Tool > Create Test Images.
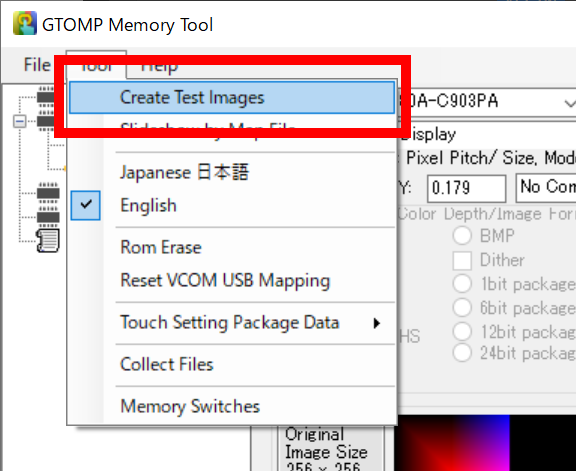
Four test images will be created on the PC desktop.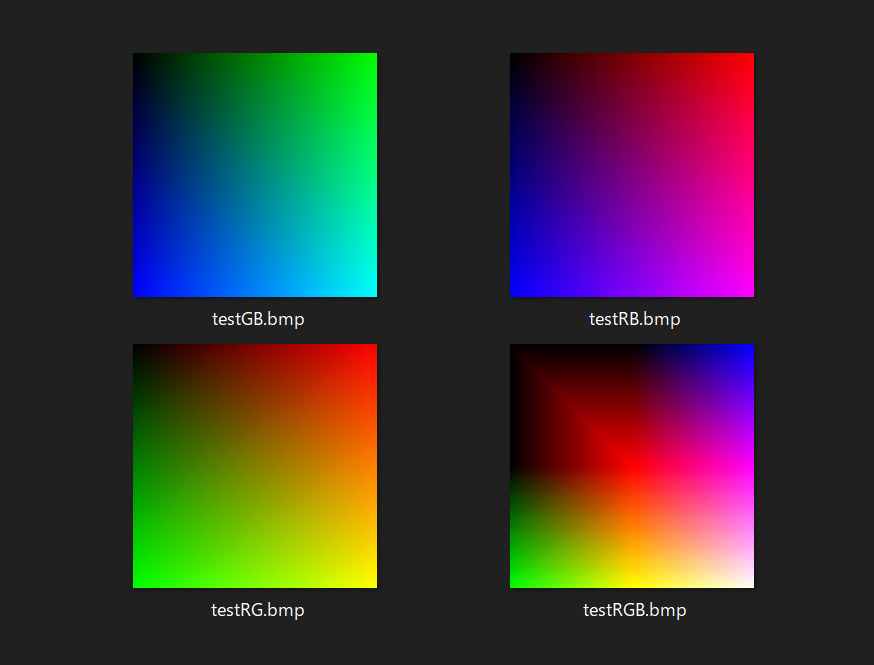
- Drag and drop an image file to the FROM2 icon.
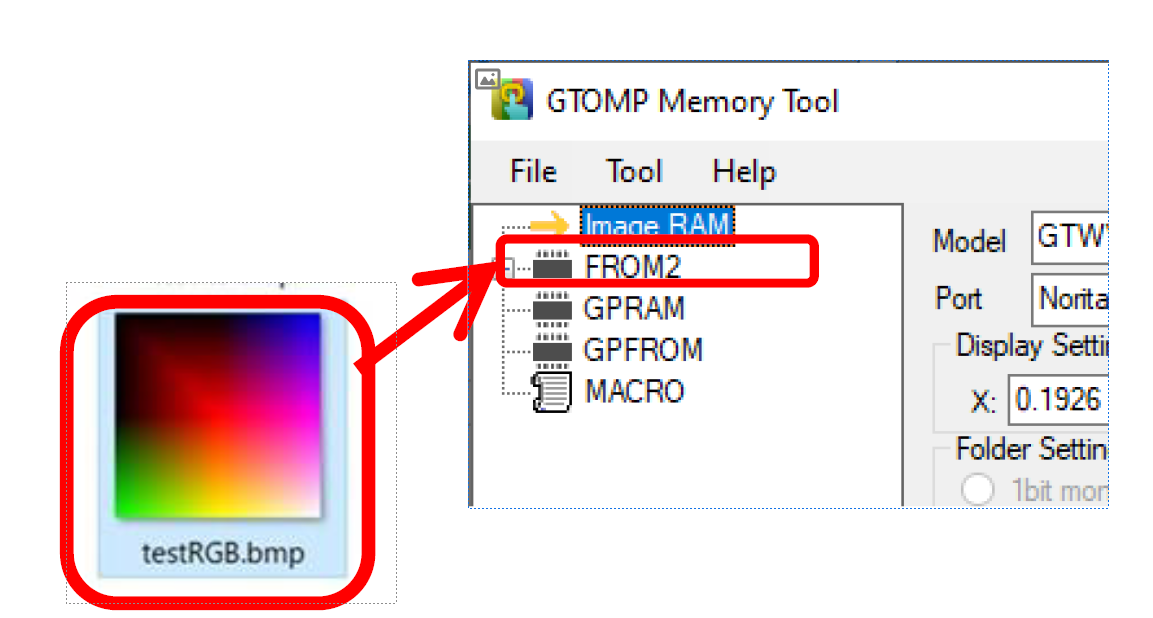
The dropped image will create a new node under the FROM2 node.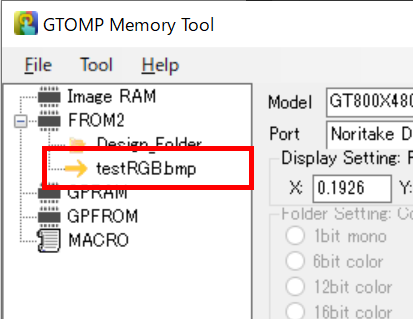
- Make sure the FROM2 checkbox is checked in the “Memory Selection” area.
- Click the “Write Display” button to store the image into the GT-CP module’s onboard memory called “FROM2”
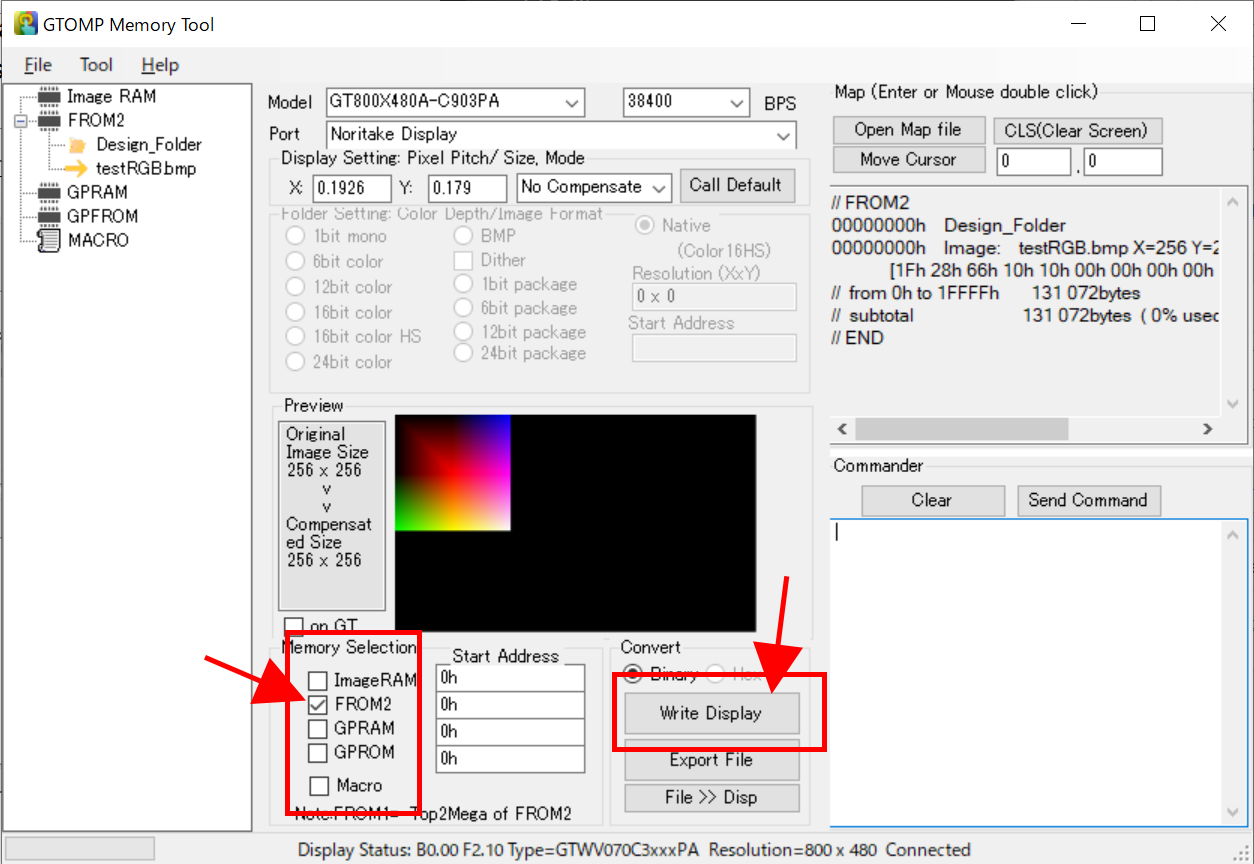
- A dialog window will appear to show FROM2 usage.
- Close the FROM2 usage dialog window.
- Another dialog window will appear with a list of available ports. Check the “Noritake Display” option.
- Click on the “Write” button.
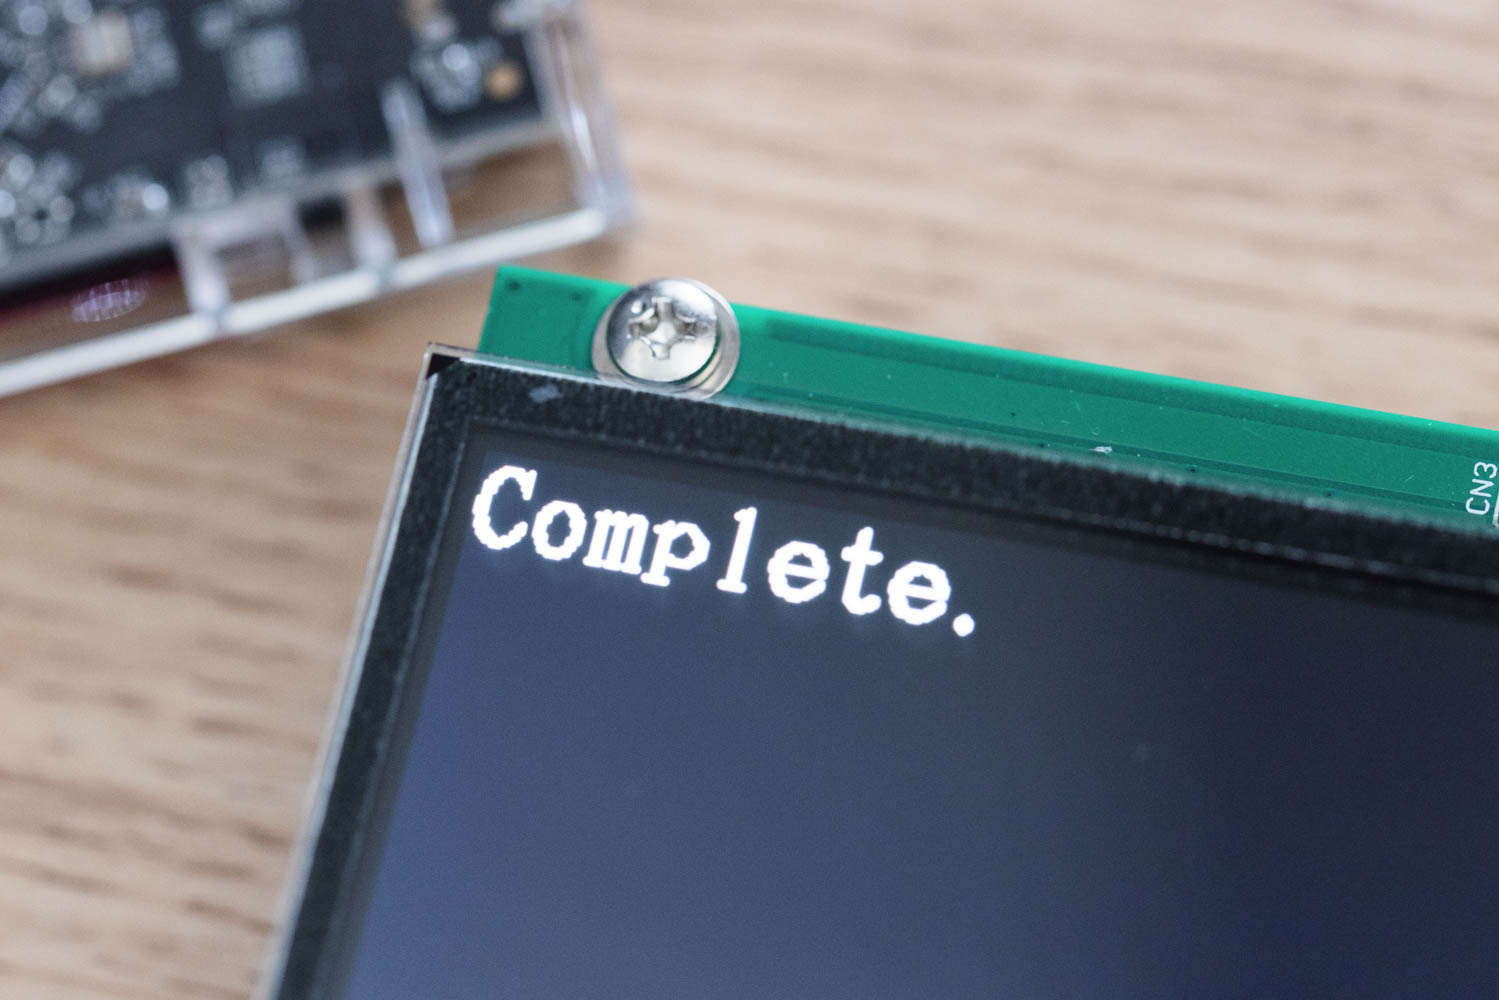
- Wait until a window pops up and says “Complete”. Close this window and the “MultiWrite” window.
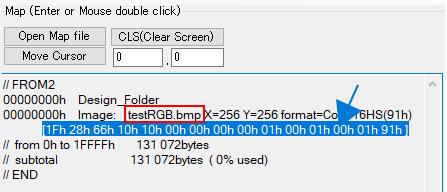
- MAP file info will be generated in the “Map” section when the image is stored in FROM2.
Display on the GT-CP module
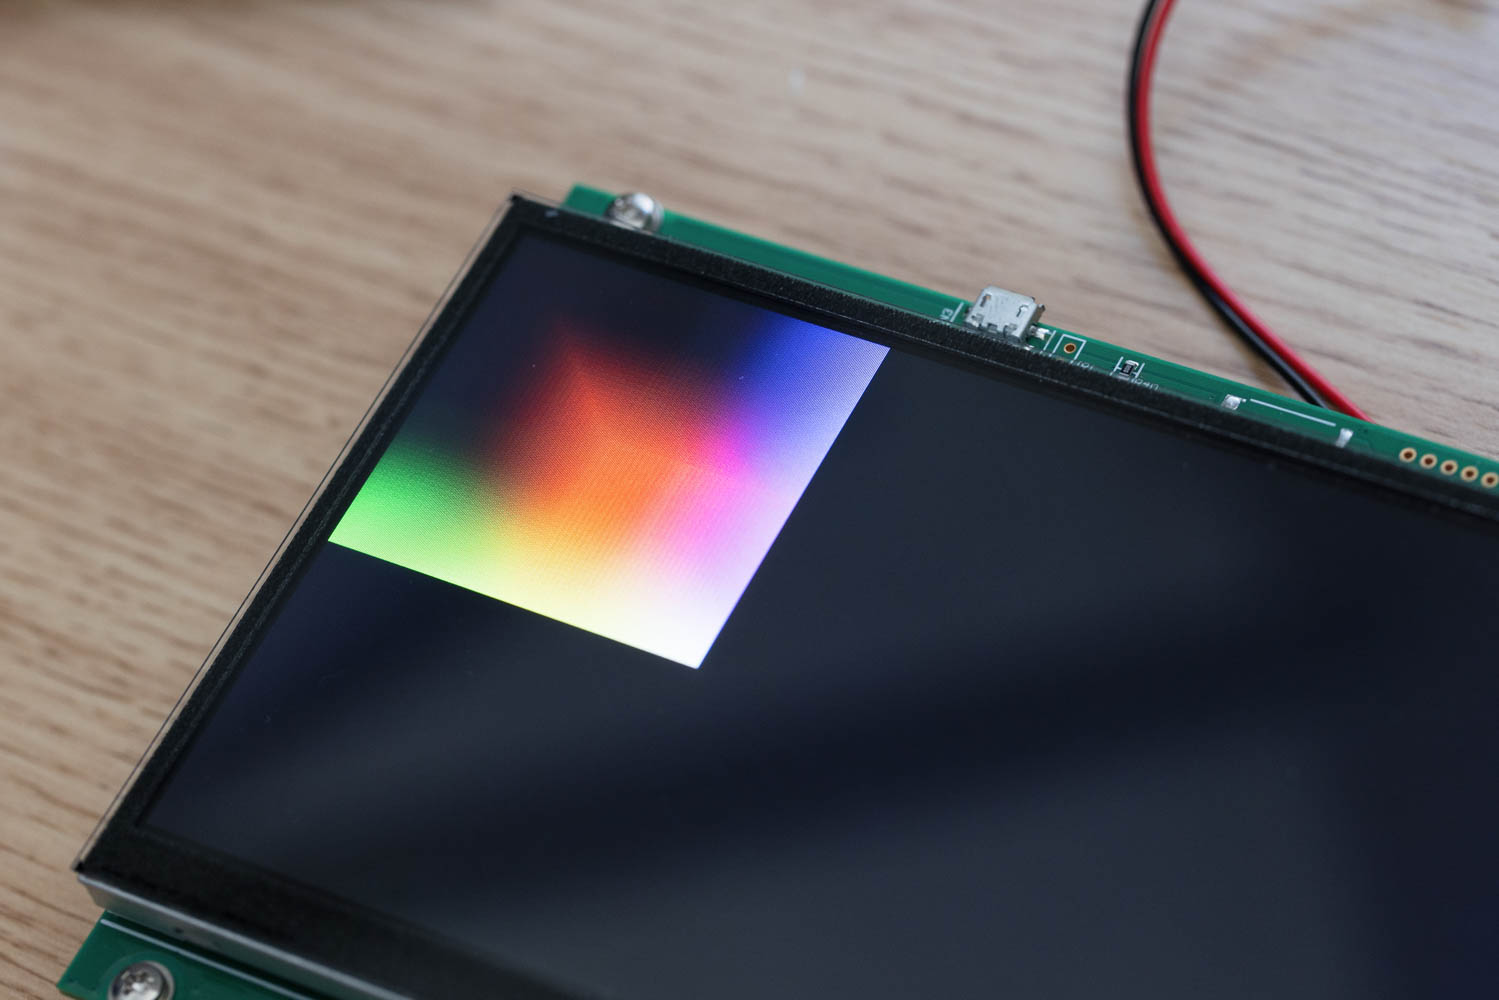
- Double click on the hexadecimal command (1fh 28h 66h etc.) underneath the image name and the stored image will display on the GT-CP module.
Store Multiple Images
You can also store multiple images. If you can’t find all the image names and the hexadecimal commands, scroll the window to see them.